Redact Tab
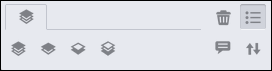
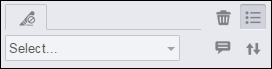
The Redact tab contains components that allow users to redact a document. Note that redactions can be burned into the document, while annotations cannot be burned in. The following image shows the Redact tab within the viewer:
 |
 |
You can hover over a redaction and see the content behind the redaction prior to burning it in. |
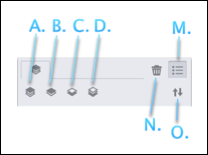
The Redact tab contains tools that allow users to redact a document. Below is a description of the redact toolbar:
| Button Name | Description & Example | |
| Image Stamp Redaction |
Use to select image stamp redactions:
|
|
| Filled Rectangle Redaction |
Use to draw solid, black rectangle redactions: 
|
|
| Transparent Rectangle Redaction |
Use to draw transparent, yellow rectangle redactions: 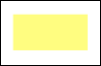
|
|
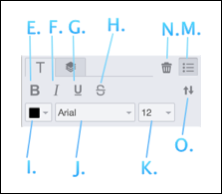
| Text Redaction |
Use to write text redactions: 
|
|
| Stamp Redaction |
Use to draw stamp redactions: 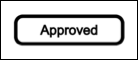
|
|
| Text Selection Redaction |
Use to select and redact blocks of text using a text selection tool. After text selection, the highlight is converted to rectangle redactions. If multiple lines of text are selected, a rectangle redaction will be created for each line of selected text:
|
|
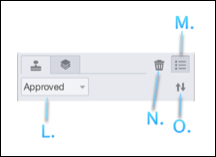
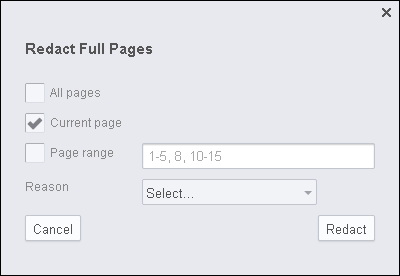
| Redact Full Pages |
Use to redact the current page, all pages or a range of pages. Select and apply the redaction reason:
|
|
| Select Text Button | Use to select text in the document. | |
| Pan Button | Use to pan around the document. | |
| Save Redactions Button | Use to save the redactions for later use. | |
| Load Redactions Button | Use to load previously saved redactions. |


Redaction Context Menus
When a redaction is selected, a context menu will appear with options specific to that redaction type. Below is a list of the various context menus with a guide to their options: